What would you like help with...?
- How to get remote help using CPC Quick Support.
- How to set Adobe PDF viewer as the default in web-browser.
- How to change Office 365 password
- How to install Office on your machine
- How to set Email on your iPhone
- How to set an Email signature
- How to create a signature for PDF Files
- How to edit a signed Session Note
- How to zip multiple files (Windows)
How to get remote help using CPC Quick Support
- Download the CPC Quick Support program (download the exe version).
-
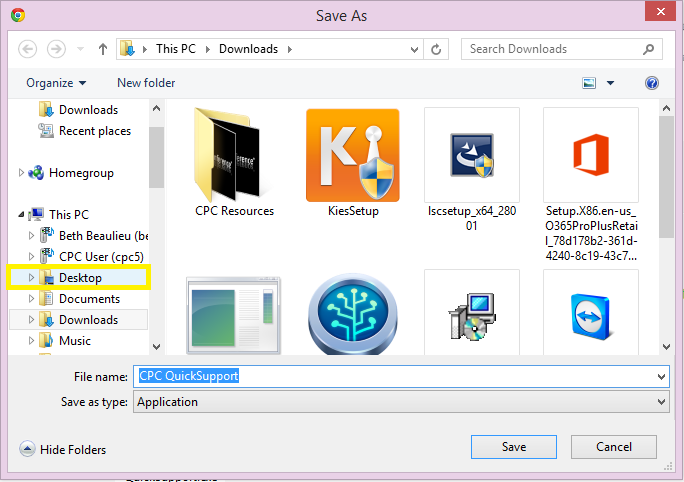
A window will pop up for you to save the program. Navigate to “Desktop” by looking at the left-side panel, and click “Desktop”.
-
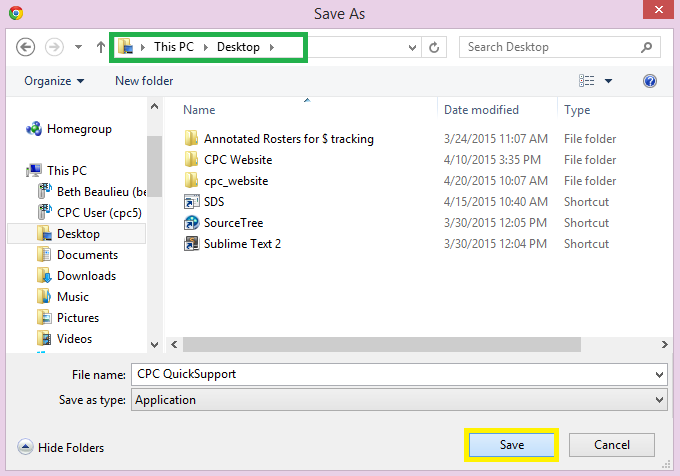
Once inside the Desktop folder, click “Save”.
-
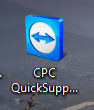
Now, if you look at your Desktop, you should see the “CPC QuickSupport” icon. Just double-click it to run.
If a dialog box called “User Account Control” pops up, just click “Yes”.
-
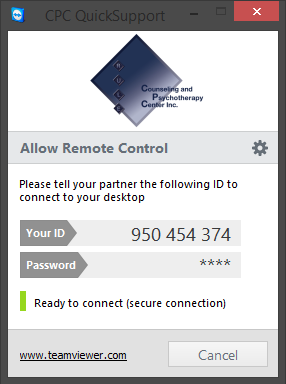
Once the software is opened, please contact your administrator with the provided 9 digit ID so that he or she can remotely access your computer.
Setting Adobe PDF viewer as the default in web-browser
**You MUST have Adobe Reader installed.
Chrome:
-
Type “chrome://plugins” in the address bar.

-
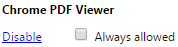
Look for the section that says Chrome PDF Viewer, and then click disable if not disabled already.
-
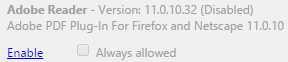
Look for the section that says Adobe Reader and click enable if not enabled already.
-
Close your browser and open it up again
Firefox:
-
Click the Menu button.

-
Click the Option button.

-
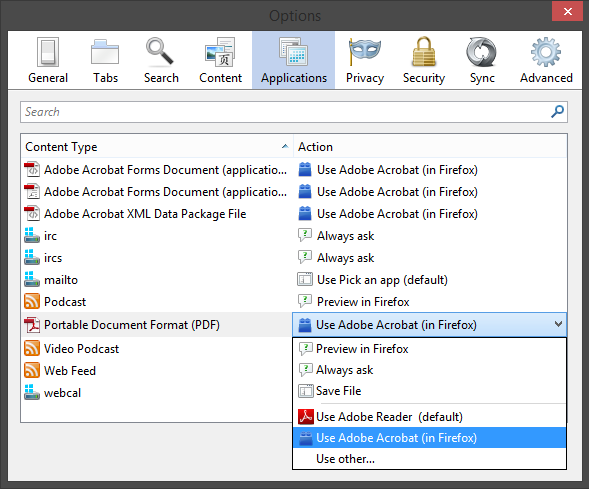
Select the Application Panel.

-
Find Portable Document Format (PDF) in the list and click on the drop-down arrow in the Action column and select use Adobe Acrobat (in Firefox).
How to change Office 365 password
- Login into https://login.microsoftonline.com
-
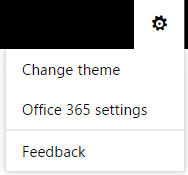
Click on the settings button and then select Office 365 settings.
-
On the left, click on password.
-
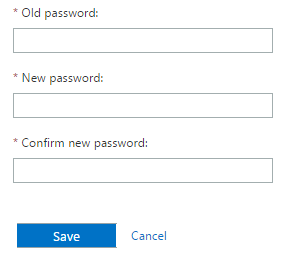
Type in your old password, followed by your new password twice and then click save.
How to install Office on your machine
- Login into https://login.microsoftonline.com
-
Click on the settings button and then select Office 365 settings.
-
On the left, click on software.
-
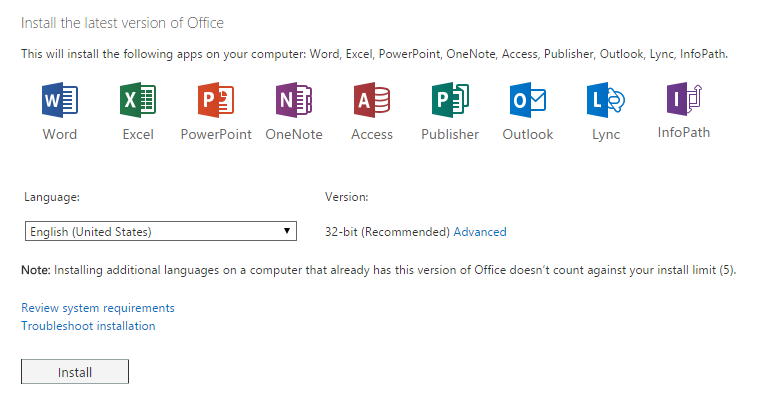
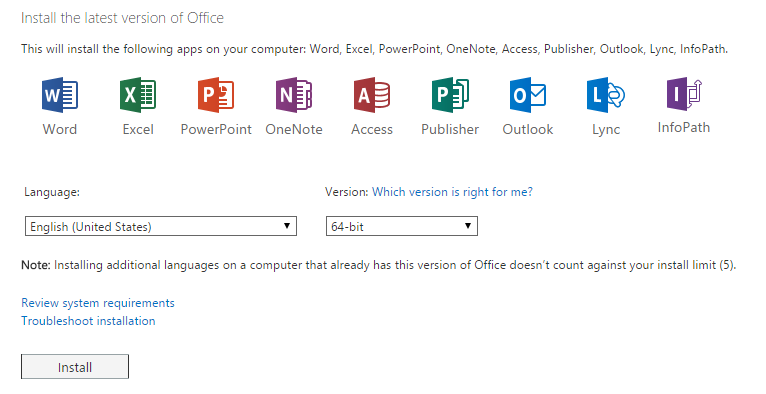
Scroll down until you get to “Install the latest version of Office”
-
Click advance and change the option to 64-bit. Then click install.
- Once the file is downloaded, just run it and follow the instructions.
How to set Email on your iPhone
-
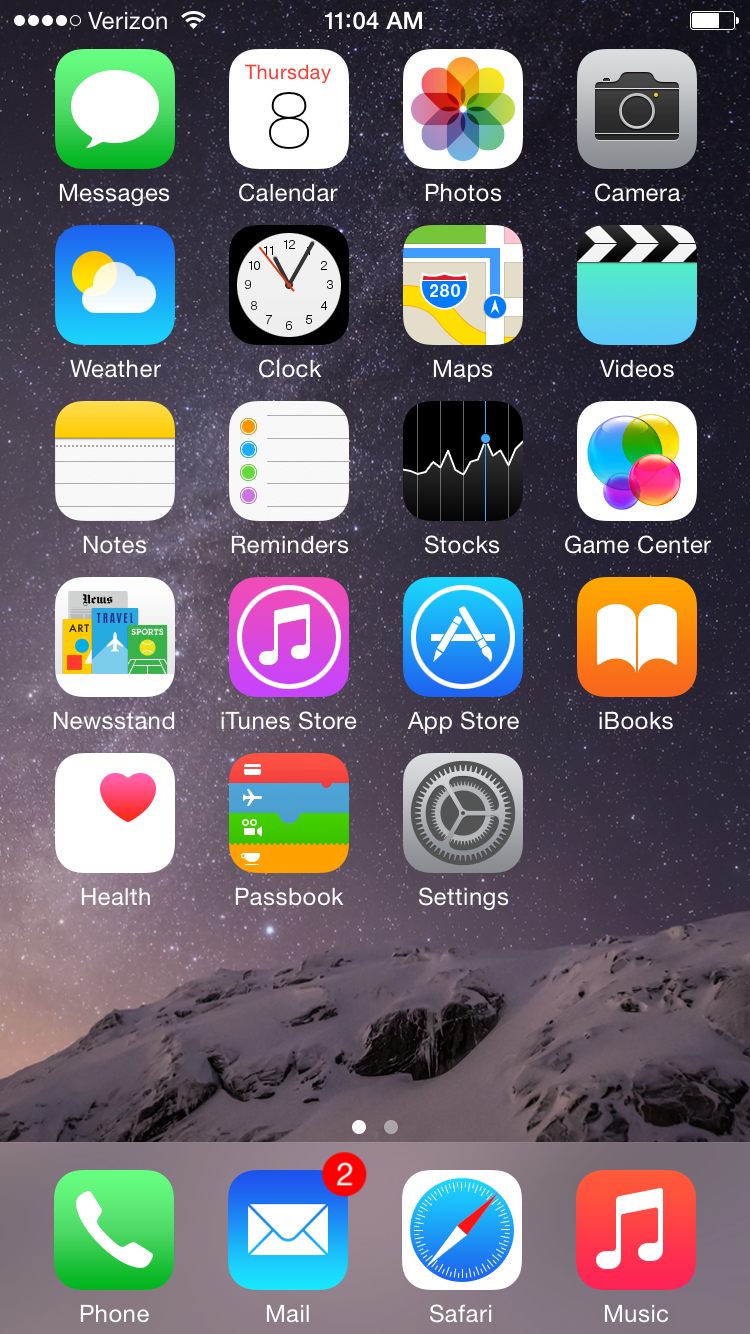
From your iPhone homescreen select settings.
-
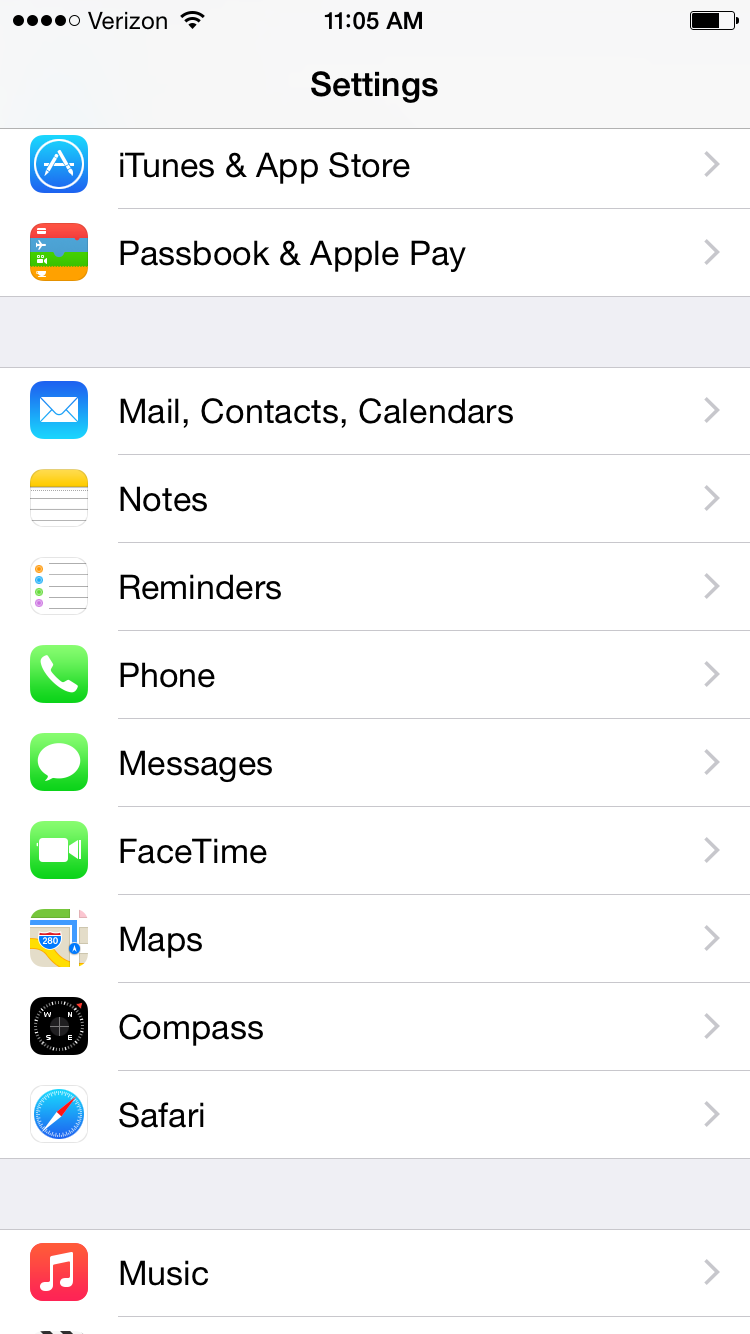
“Mail, Contacts, Calendars”
-
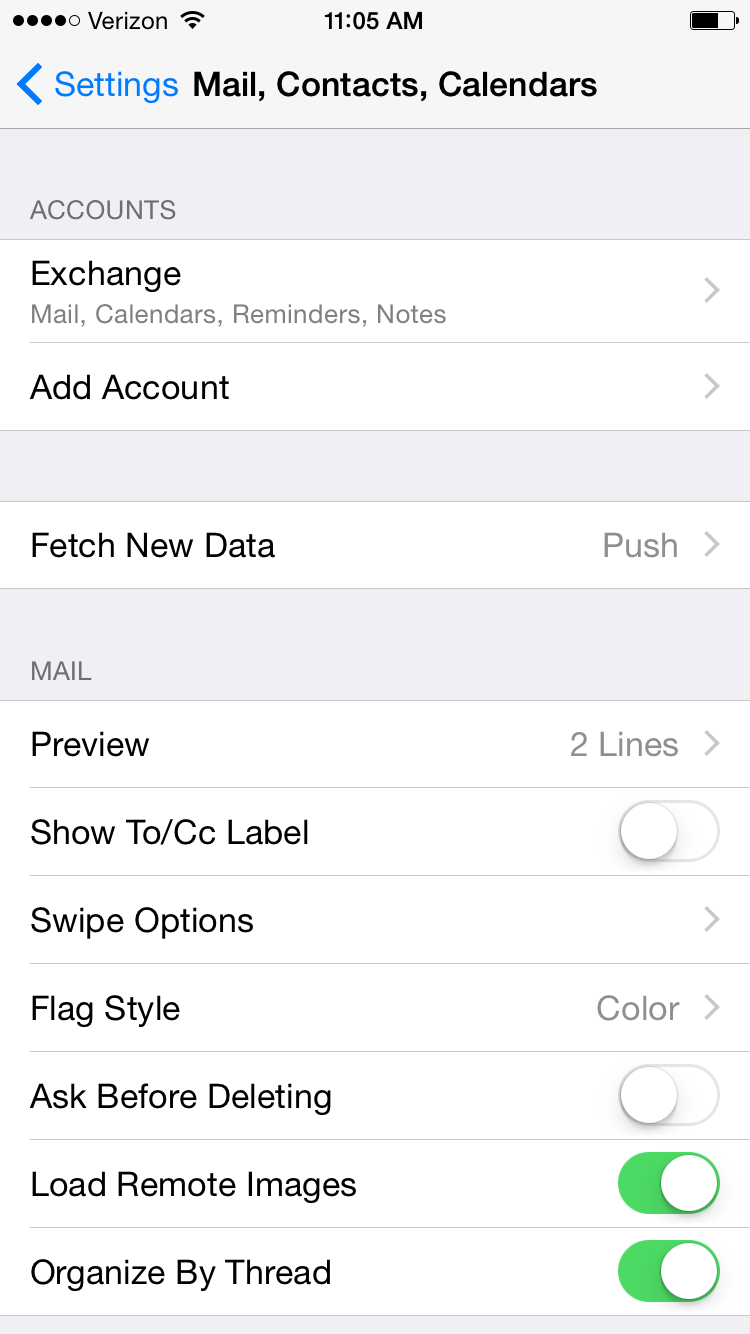
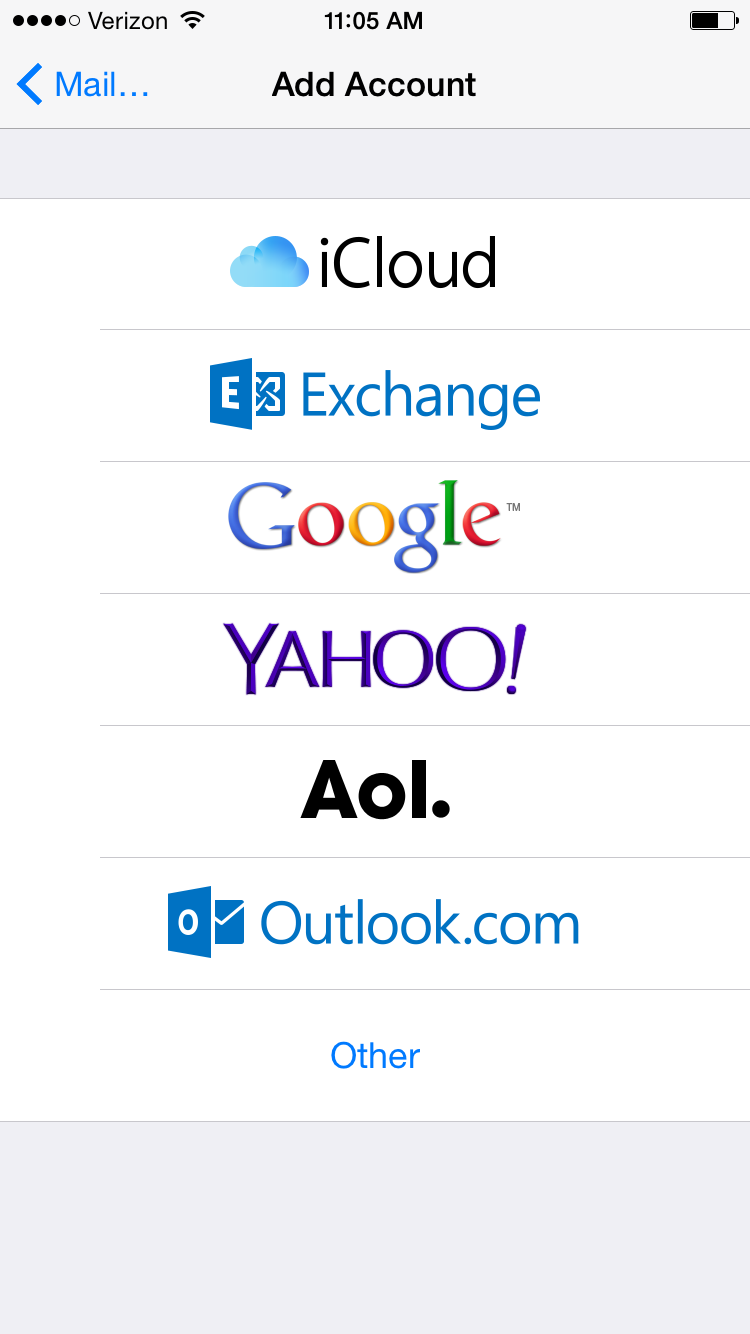
“Add Account”
-
“Exchange”
-
Type in your email and password and then click “next”.
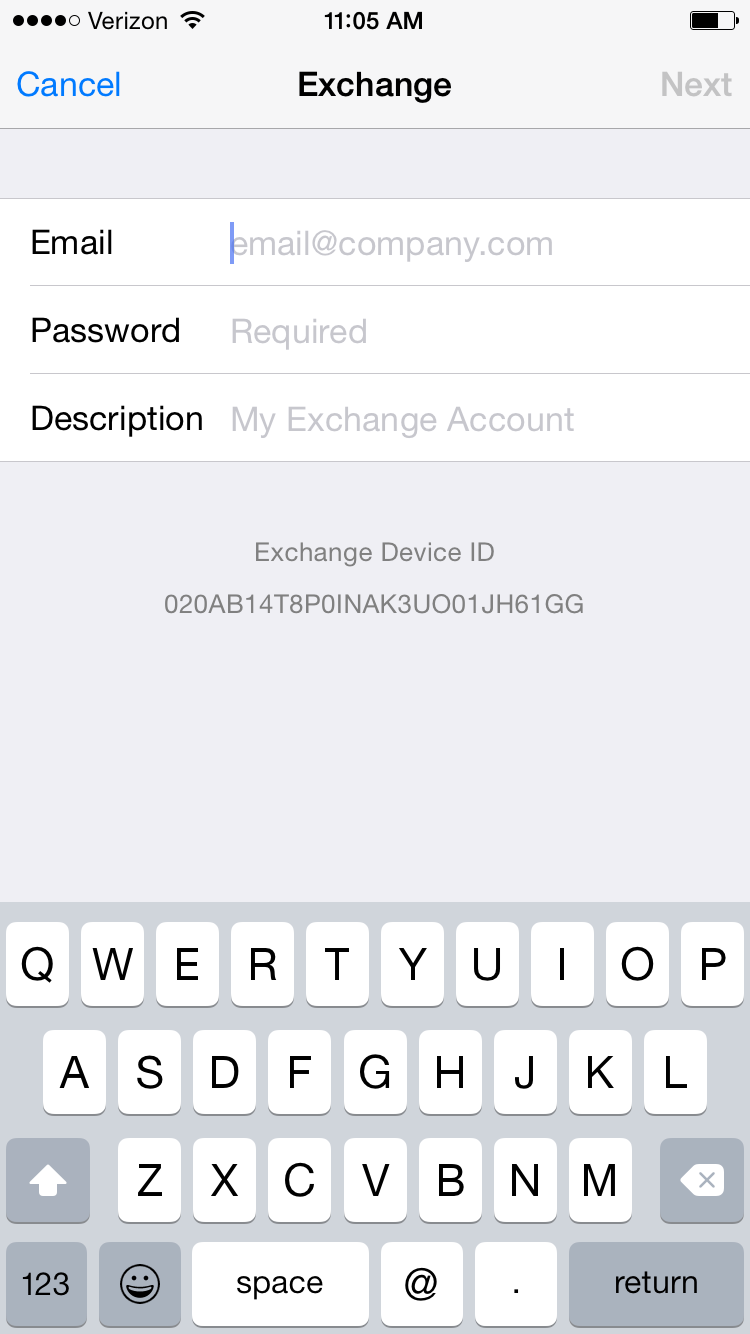
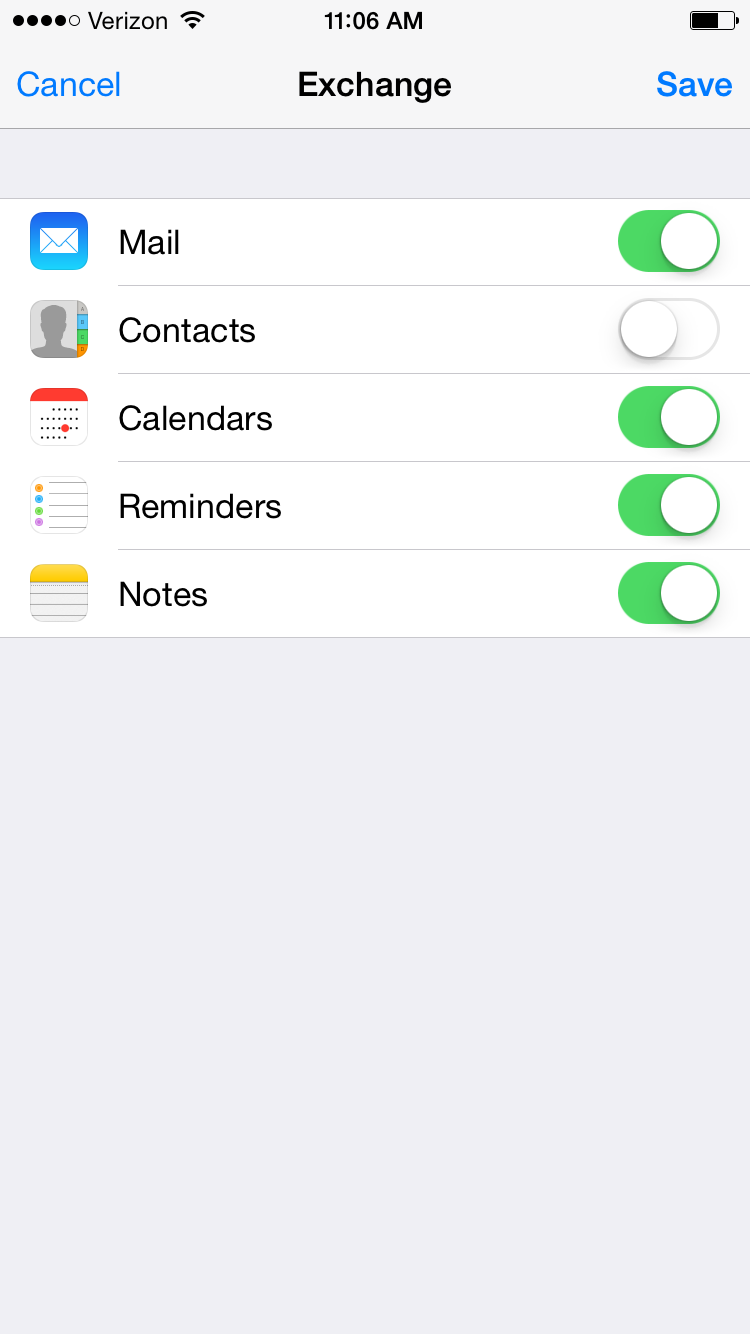
-
“Save”
How to set an Email signature
-
In Microsoft Outlook 2013, click “File” on the top left of the screen.

-
A screen should appear, with a blue menu on the left. In that menu, select “Options”.

-
Another menu should appear this time. On the left, select “Mail”.
-
Scroll down to the third item in the option list on the right and click the “Signatures…” button.

-
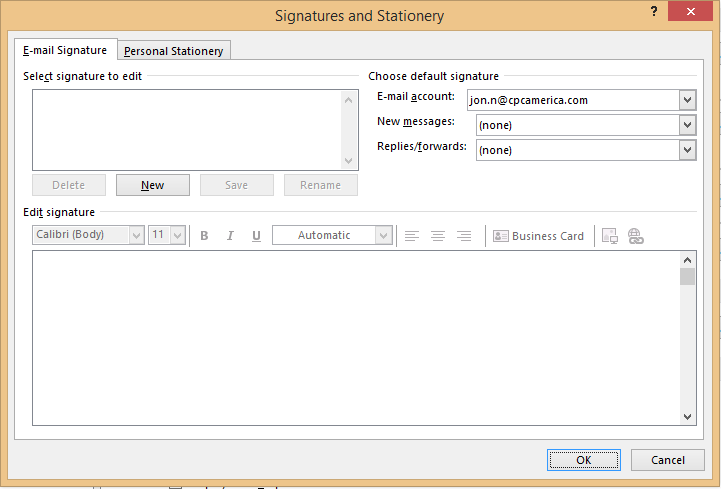
Another will appear, this time click ‘New’ and type in your signature title. Then You are able to edit your signature on the bottom half of that menu pop-up. Once you’ve made your signature, make sure on the top right, your signature is selected for “New Messages” and “Replies/Forwards”
-
Click “OK” and you should be all set.
How to create a signature for PDF Files
- Before doing anything, contact help@cpcamerica.com so we can convert the image of your signature into a pdf
-
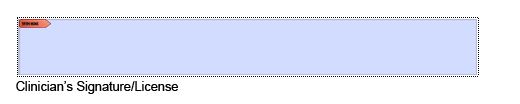
In Adobe Reader (PDF File), scroll down to ‘Clinician’s Signature/License’ and click anywhere in the blue
-
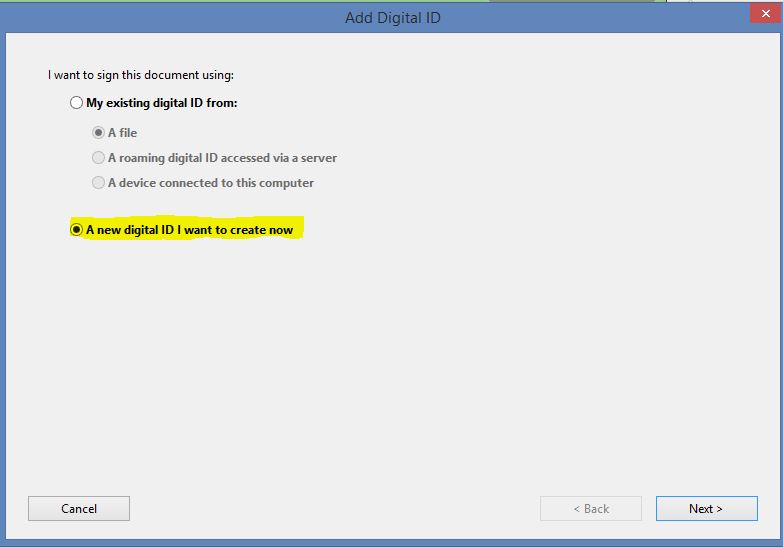
A window should appear, with two options. In that window, select “A new digital ID I want to create now”. Then click ‘Next’.
-
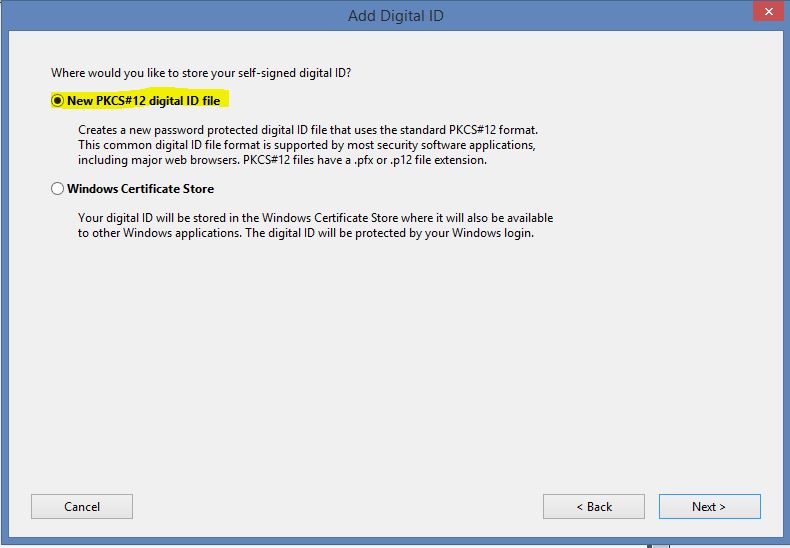
On this screen, which asks you where would you like to store your self-signed digital ID, select “New PKCS#12 digital ID file”. Then click ‘Next’.
-
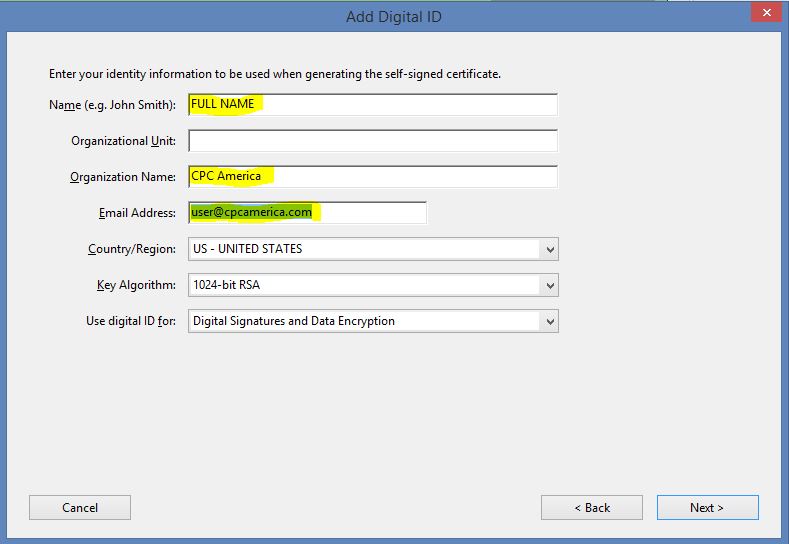
On this screen, fill in the Name with your full name, Organization Name as ‘CPC America’, and Email Address with your CPC email address. Everything else should be left as is. Then click ‘Next’.
-
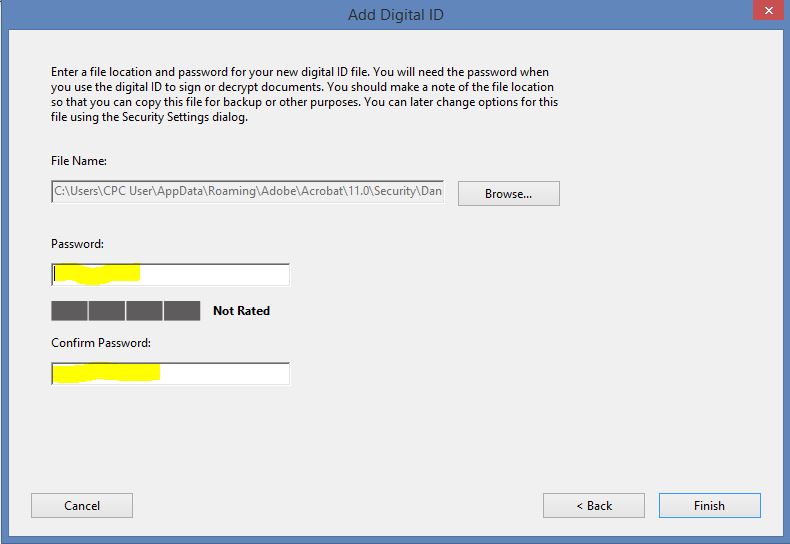
This window is where you are going to create a password for your signature. This password will be needed whenever you use this signature. After doing so, click ‘Finish’.
-
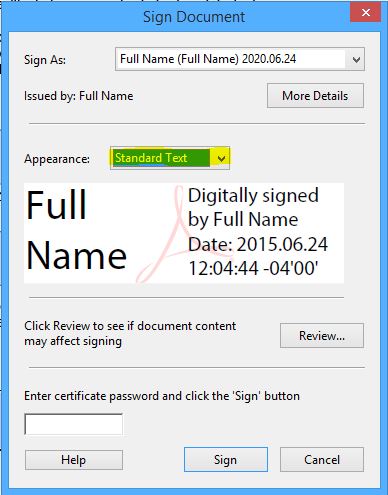
Now, on this screen, it will pop up everytime you want to sign a session note. Go to ‘Appearance’ and click on the drop down menu next to it and select ‘Create New Appearance…’
-
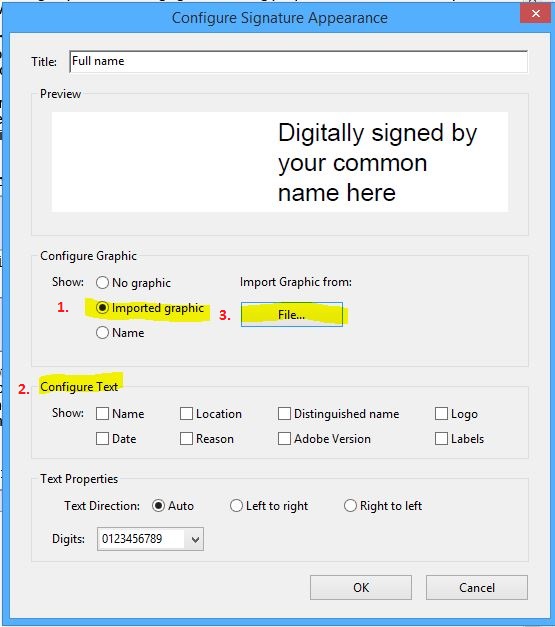
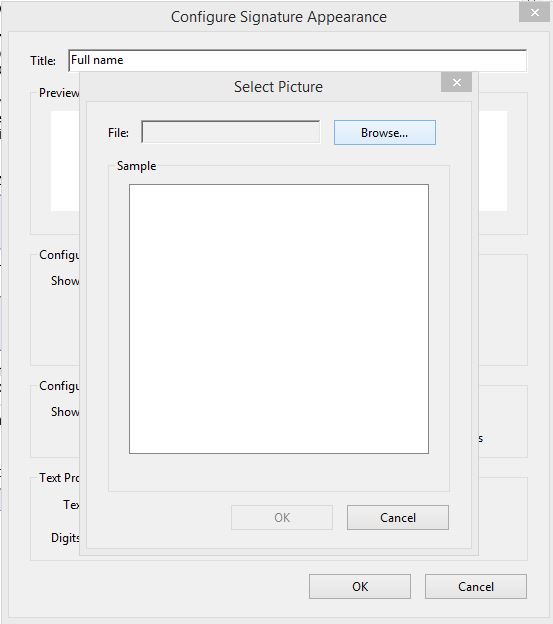
A window should pop up looking like the image below. Select ‘Import graphic’ and make sure that none of the boxes are checked under ‘Configure Text’. After those boxes are unchecked, click ‘File…’.
-
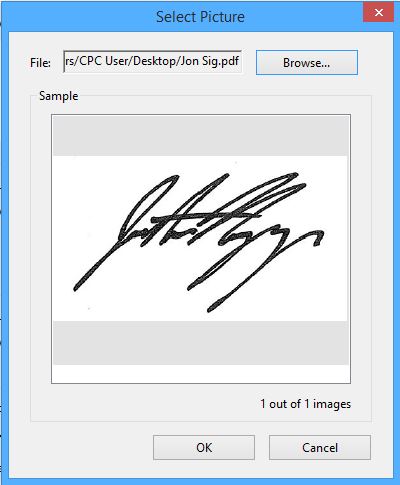
On this small window, click ‘Browse’ and locate the signature image that was converted into a pdf. Double Click it.
-
A sample of your signature should appear. If you see your signature, click ‘OK’.
-
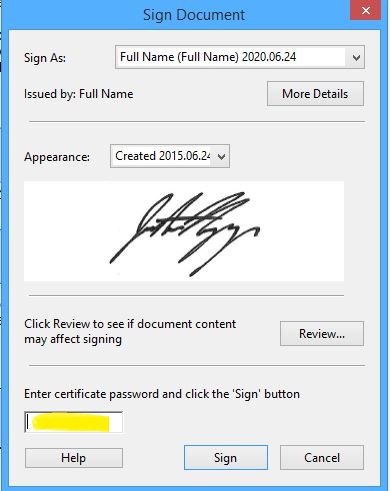
Enter the password you created earlier (location shown in the image below) and click sign.
-
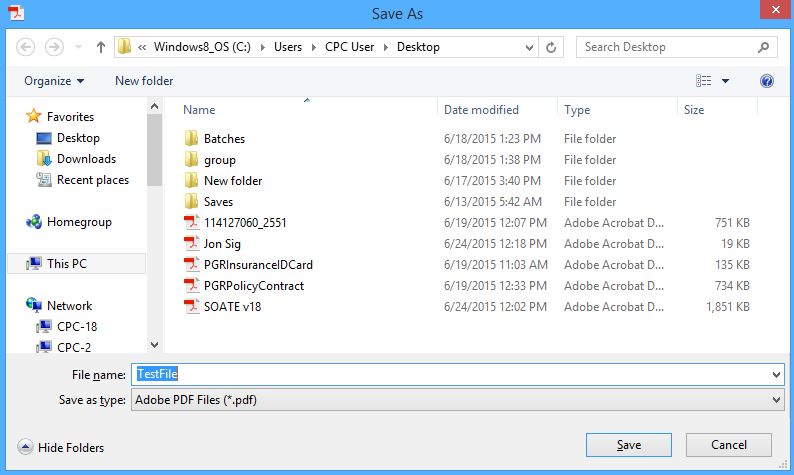
The ‘Save As’ window should appear, this will save the entire PDF file that you just worked on, so name the PDF file accordingly and click Save.
-
You have created your signature for Adobe! The signature in the PDF you just saved should look like the image below with signature image you inputed.

- From now on, you can just click on the signature block of the session note and you can select the signature you created previously. All you need to do is enter the password you created when creating the signature and click ‘Sign’. Then you name the file accordingly and save the session note.
How to edit a signed Session Note
-
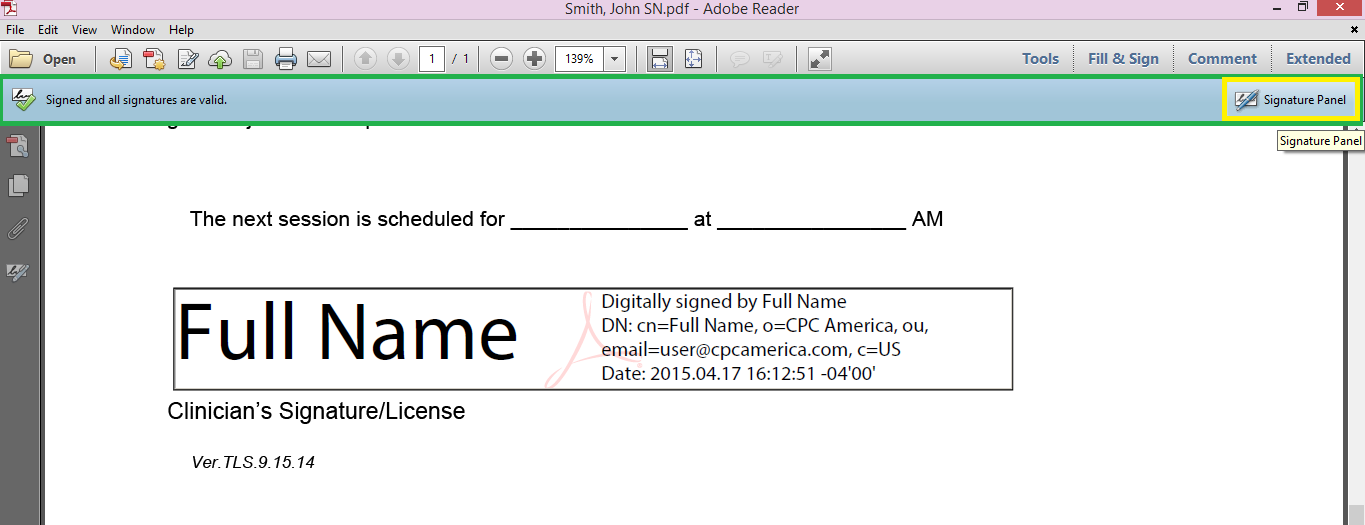
Open the Session Note you want to edit. When it opens, click on “Signature Panel” in the top right section of the window.
-
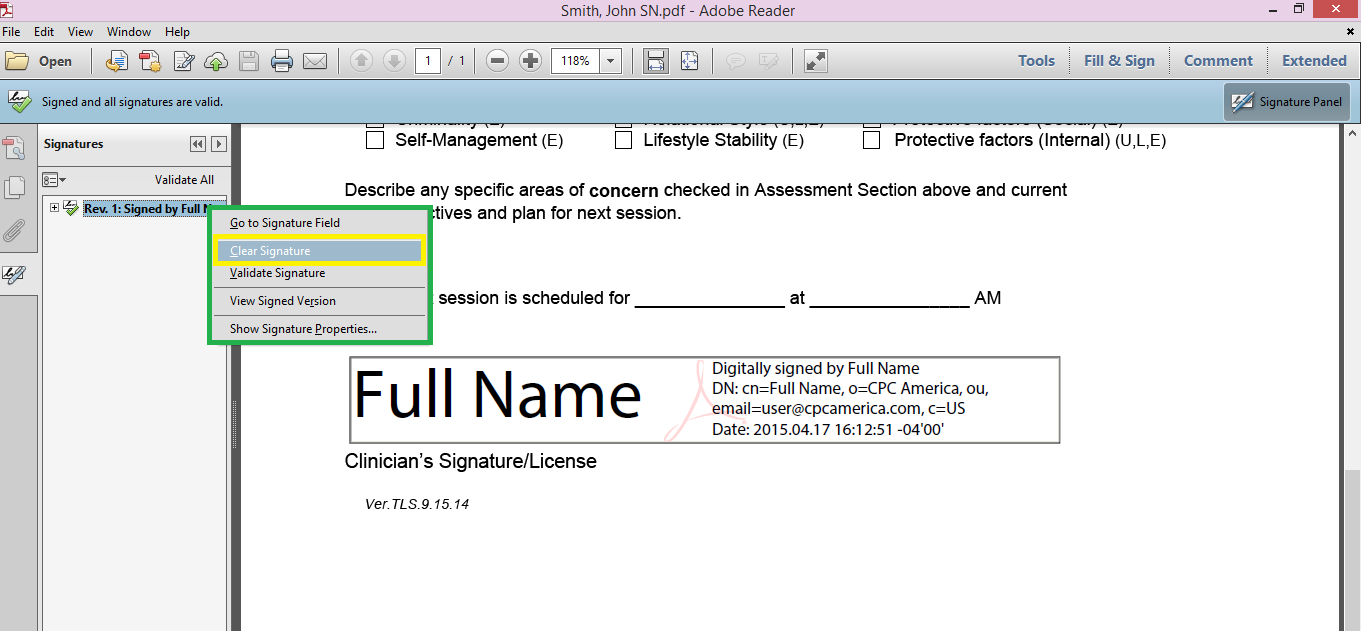
A panel called “Signatures” should appear to the left of the Session Note. In this panel, right-click “Rev. 1: Signed by Full Name” etc. (This should have your signature information). Click “Clear Signature”
-
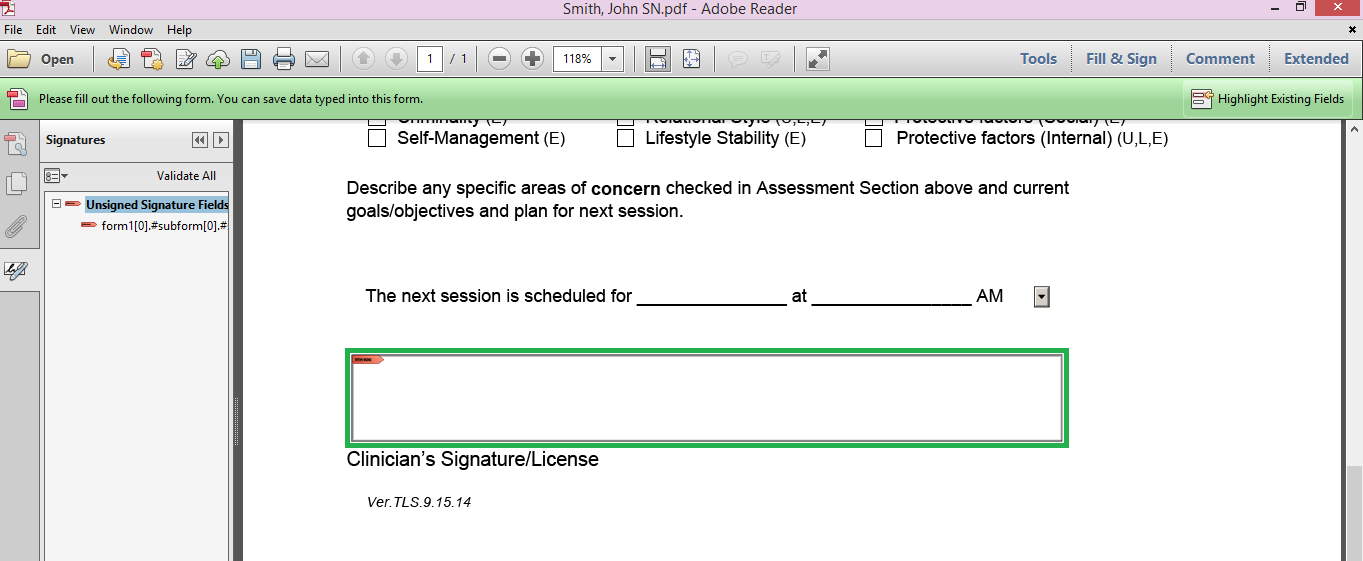
Now, your Session Note is ready to edit. When you are done editing, re-sign the Session Note and save.
If the original file name is correct and you clicked “Save”, a dialog box saying the file “already exists. Do you want to replace it?” Click “Yes”. Otherwise, click “No”, rename the file accordingly, and save it.
How to zip multiple files (Windows)
For this example, we will be zipping session notes.
-
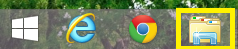
Open File Explorer on the taskbar.
Navigate to where the files you want to zip are located. In this example, it is Documents/Session Notes

-
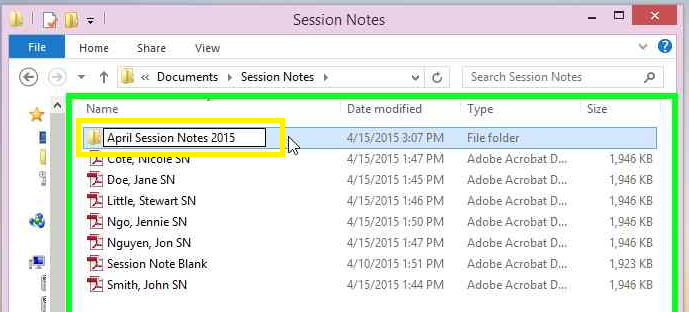
At the top left corner of the window, click the “New Folder” button
 to create a new folder.
A “New Folder” will appear ready for you to rename it to whatever you want it to be called. In this example, it’s renamed to “April Session Notes 2015.”
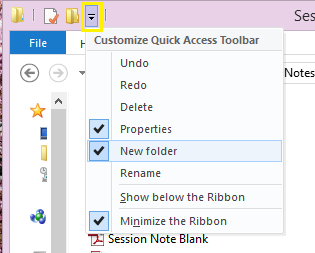
If you do not see the “New Folder” button, just click the black dropdown arrow, and click “New Folder” to check it off, and the button will appear.
-
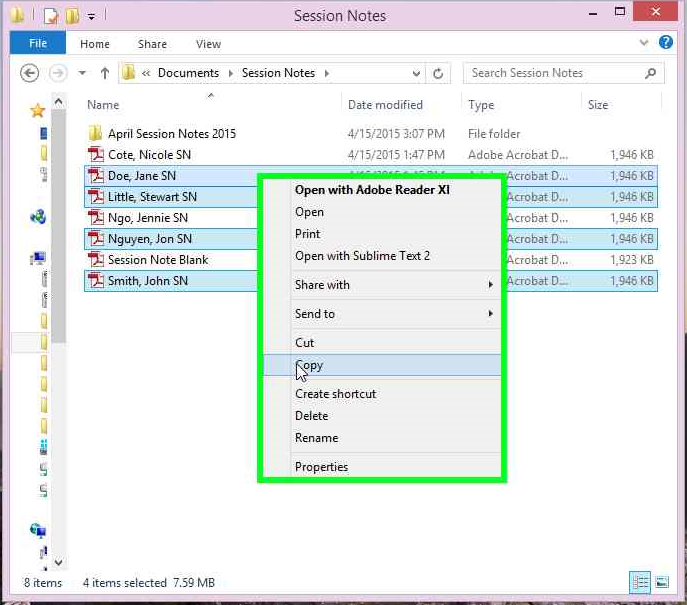
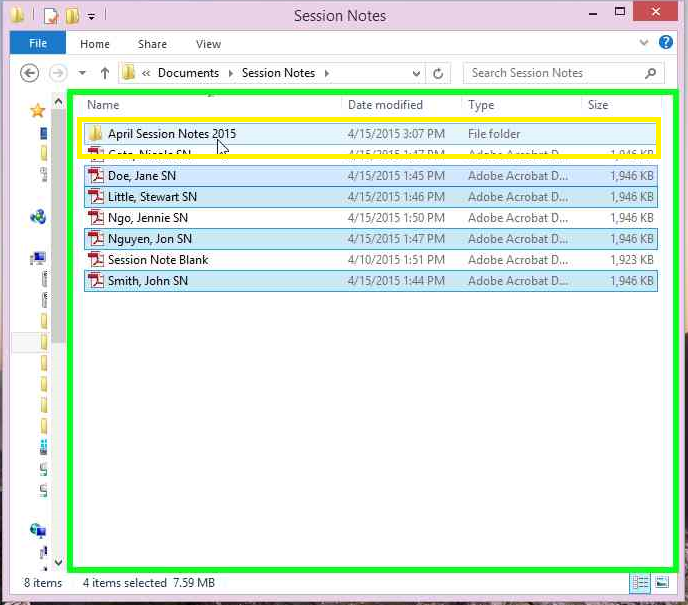
Click on the first file you want to zip. To select multiple files, hold down the “Ctrl” key and with your mouse, click on the other files. This will highlight only the files you click with your mouse.

-
Once done, move the cursor over any of the highlighted files, and right-click. Click “Copy.”
-
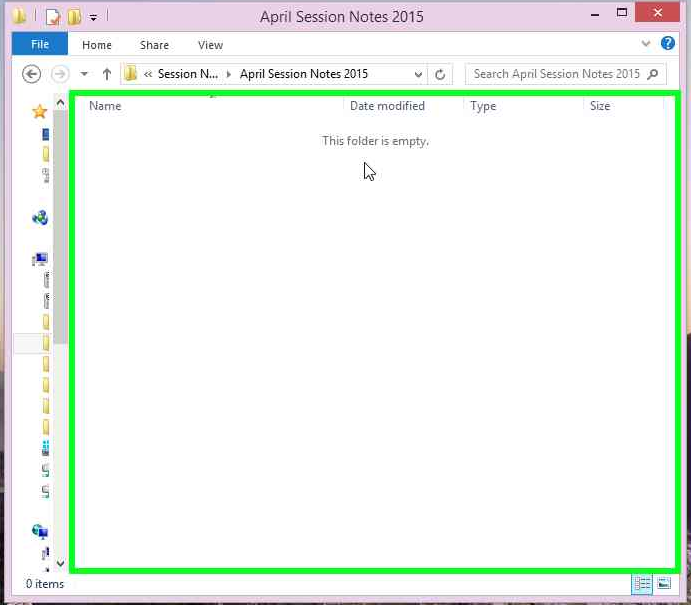
Find the folder you created in Step 2, and double click.
You should now be inside the folder, and it should say “This folder is empty.”
-
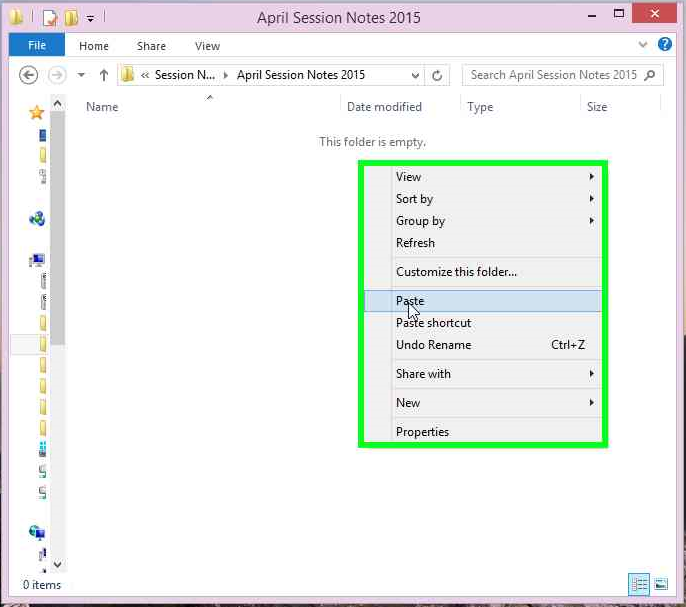
Just under “This folder is empty” right-click and click “Paste.”
-
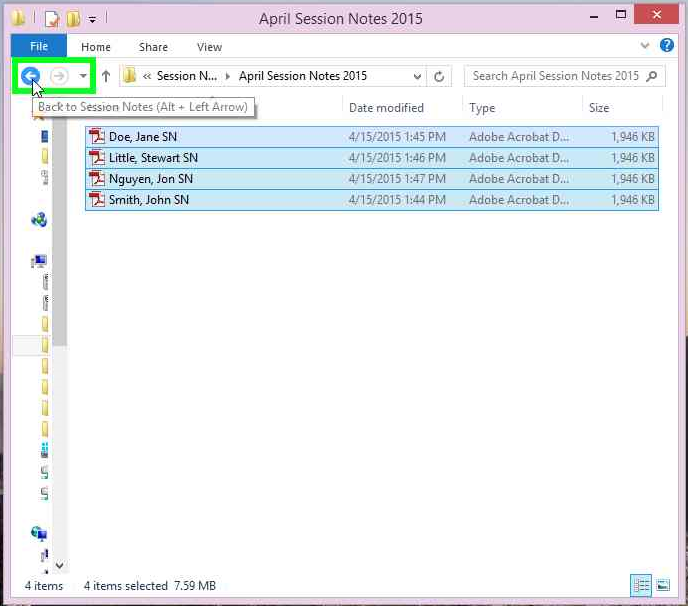
You should now see all the files you copied in Step 4. Now, go back one folder by clicking the left arrow in the top left of the window, which will take you back to the previous folder you were in, which is “Session Notes” in this example.
-
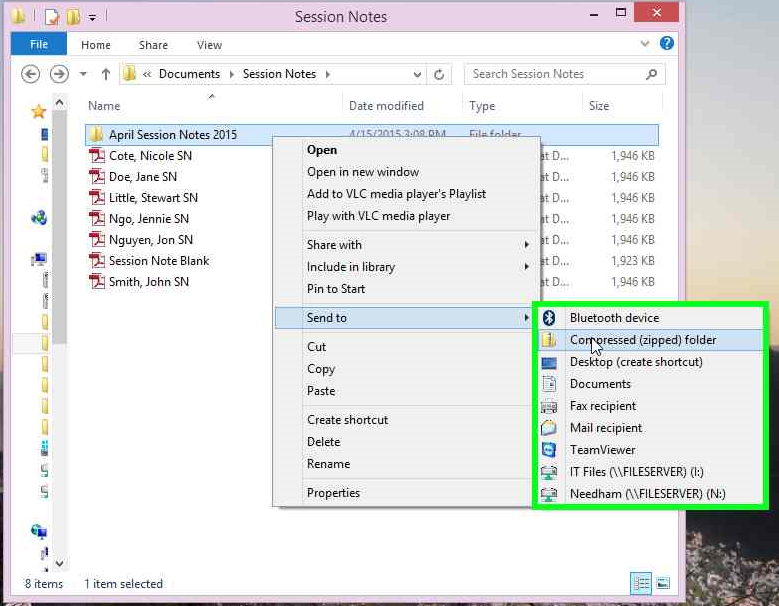
Find the folder you created in Step 2, click the folder once to highlight, and right-click. Go to “Send to” and click “Compressed (zipped) folder.”
-
You should now see a zipped folder of the same name.
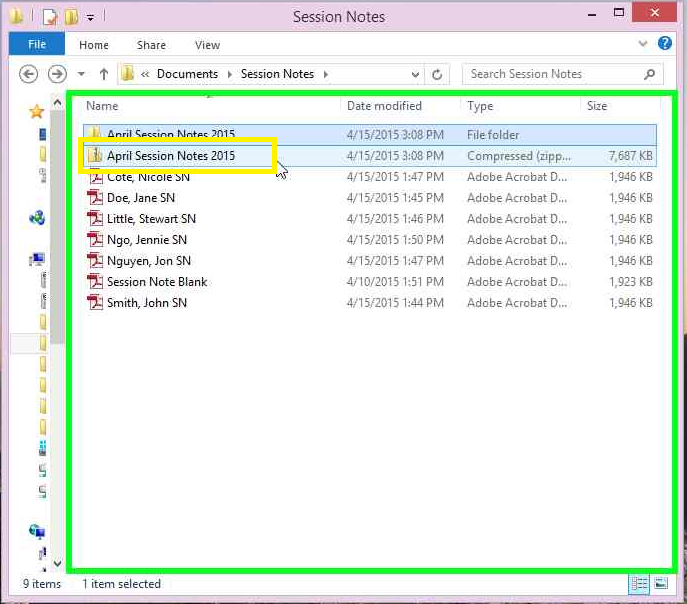
**KEEP IN MIND** you can only send a maximum of 25 MB in a single email. Make sure to check the size of the zipped folder before attaching it to an email.